
Check a PSD Clipping Mask Before Exporting a Game Button
Use a circle and an oversized stripe layer to verify that your export preserves the intended clipped edges.
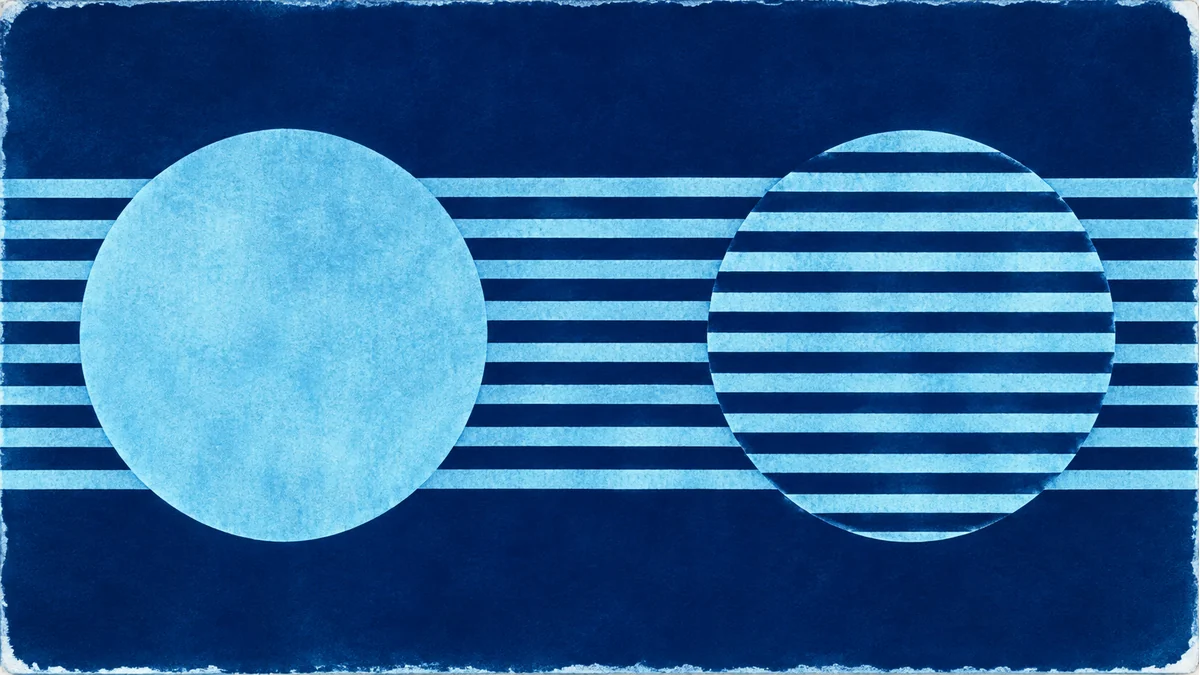
A PSD button can look correct in the editor yet arrive in the game with stripes extending outside the circle. Photoshop uses the visible shape of the base layer to clip the layer above it. Make a small fixture so you can see whether your export contains the composite or the upper layer’s original pixels.
Build a fixture with two layers
Start with a 128×128 transparent canvas. Make a solid circle roughly 64 pixels wide and put stripes across the entire canvas on the layer above. Clip the stripes to the circle. Save a reference PNG of the composed button and keep the layered file for comparison.
Inspect the output in three places
- At the center, check that the stripes are present.
- Outside the circle, inspect transparency all the way to the old stripe boundary. Visible stripes there indicate that the exported output includes the unclipped layer pixels.
- Along the circle, composite the output over light and dark backgrounds to inspect partially transparent edges.
For a static button, a flattened copy of the effect is a practical deliverable. Keep the master editable. If the game needs to swap the pattern at runtime, hand off the base shape and pattern separately, then verify mask alignment in the target engine against the reference PNG.
Prepare a sample with the Tooliva asset tool, then run the checks in your own project.
Recommended tools
PSD Layer Exporter Guide: Export Game UI Assets from Photoshop Files
Learn how a PSD layer exporter helps game developers extract buttons, panels, icons, characters, and UI elements from Photoshop files faster.
PSD to Game Engine Workflow: Prepare UI Assets for Unity, Cocos, and Godot
Learn how to convert PSD design files into clean game engine assets for Unity, Cocos, and Godot with better naming, folders, PNG export, and QA checks.
How to Batch Export PSD Layers to PNG for Game Development
A practical workflow for batch exporting PSD layers to transparent PNG assets for mobile games, UI screens, icons, and 2D production pipelines.
Ready to try "Check a PSD Clipping Mask Before Exporting a Game Button"?
Use our online tools to apply this tutorial to your indie game project right away.